There are two different ways to install DeepMake. The easier way is recommended. For that you download and run the installer for Windows or Mac and let it set everything up for you.
Next is the manual installation, for this you have to follow each of the steps
Easy Installation
Download DeepMakeManual Installation
If you prefer, it is possible to install manually. This is a bit more complicated and requires you to follow the steps exactly. If you run into problems, our recommendation is always to use the Windows installer.
Download DeepMake
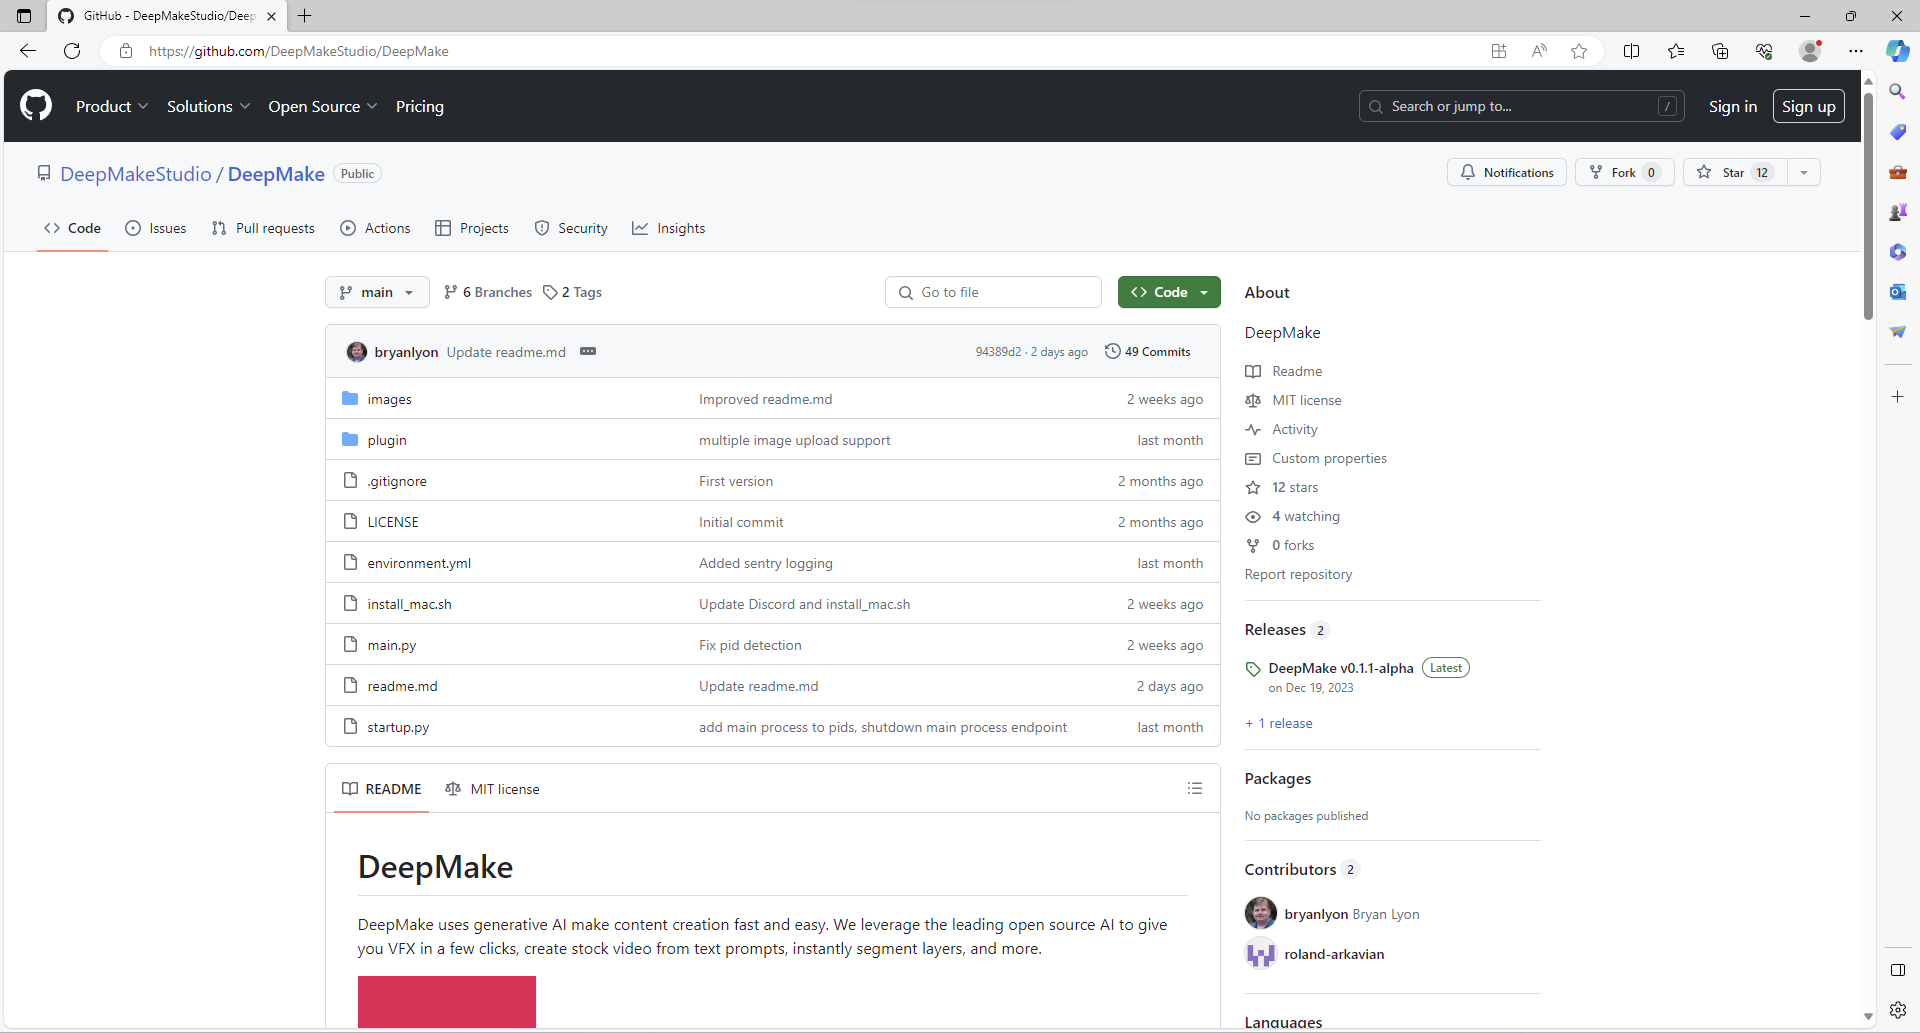
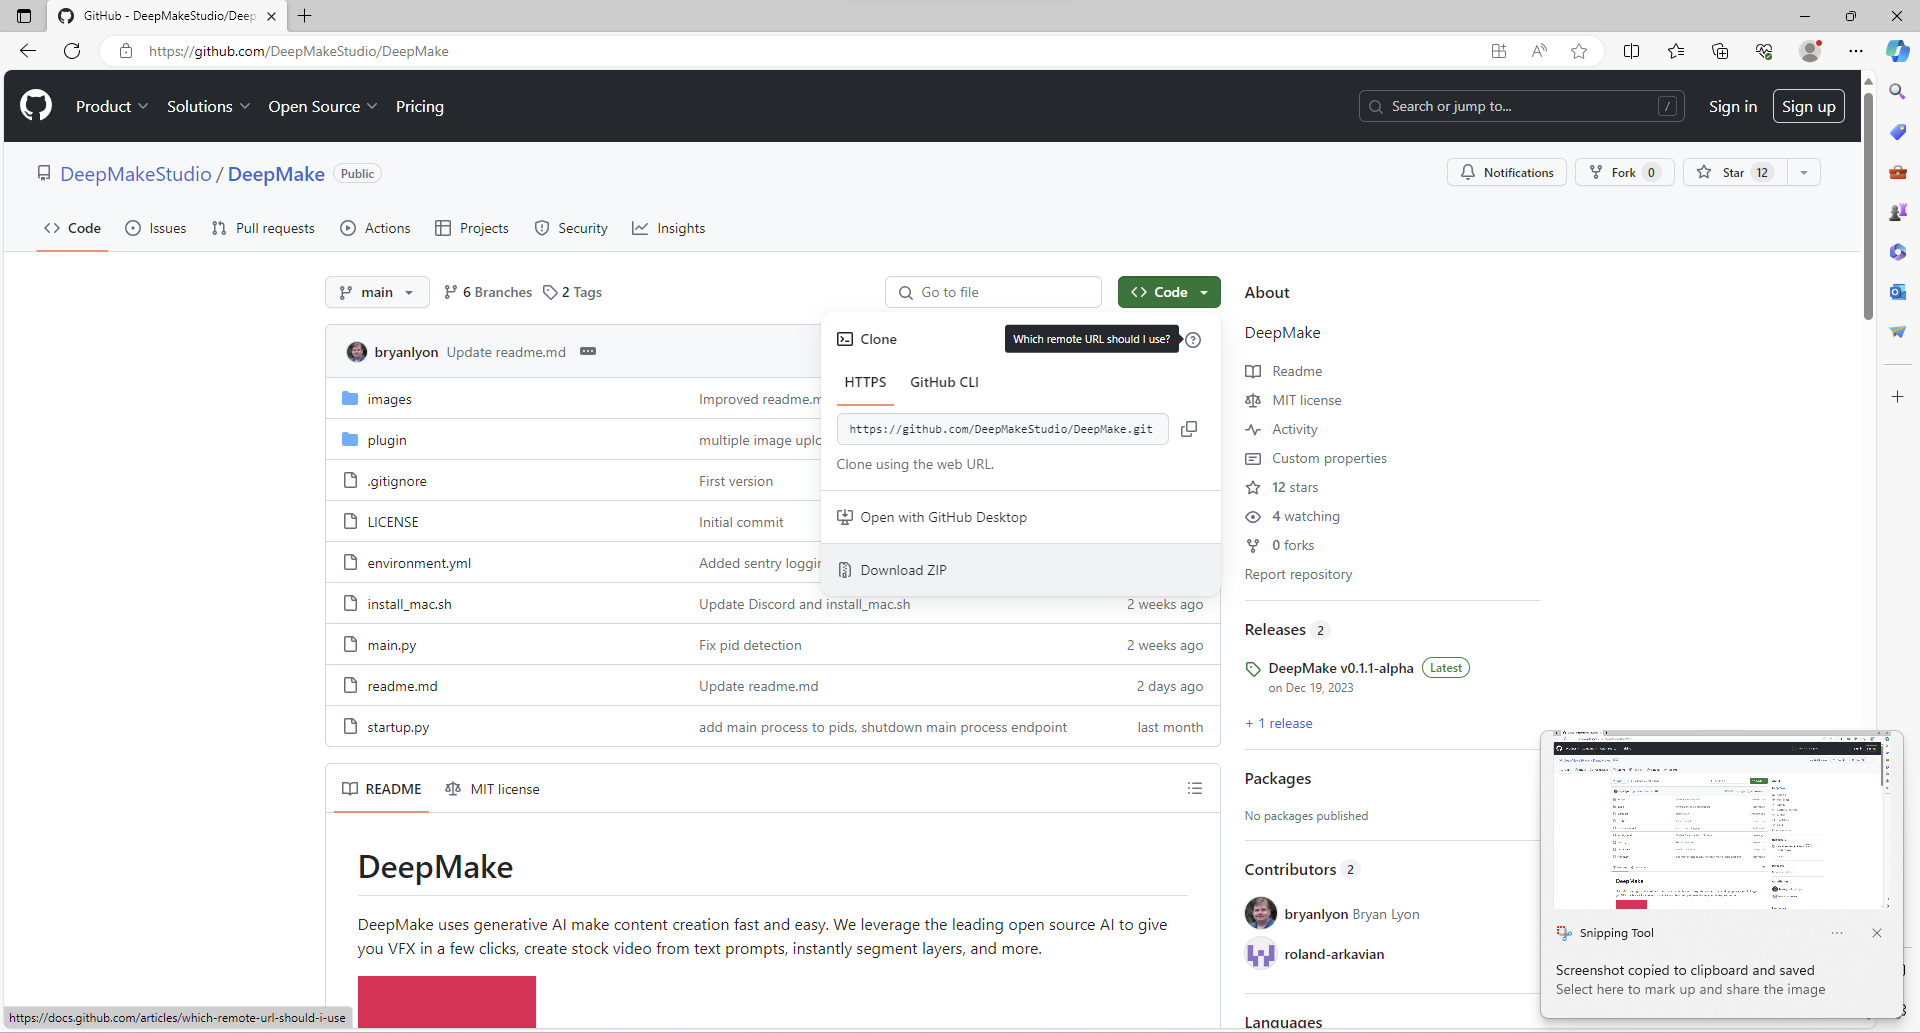
- From The Github Repo click on "Code".
- Then click on "Download Zip".
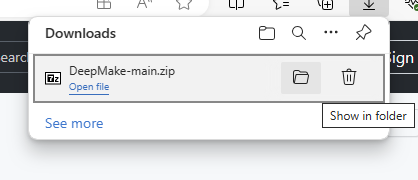
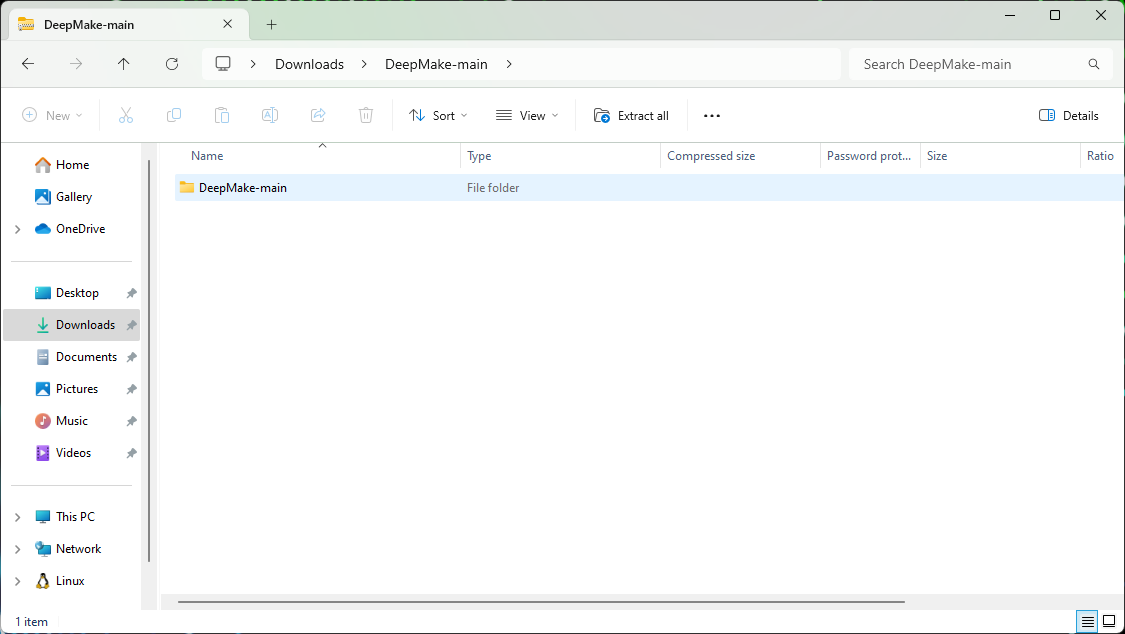
- This will download the DeepMake-main.zip file. Click the folder icon to open up the Downloads folder in Windows Explorer.
- Double click the "DeepMake-main" file.
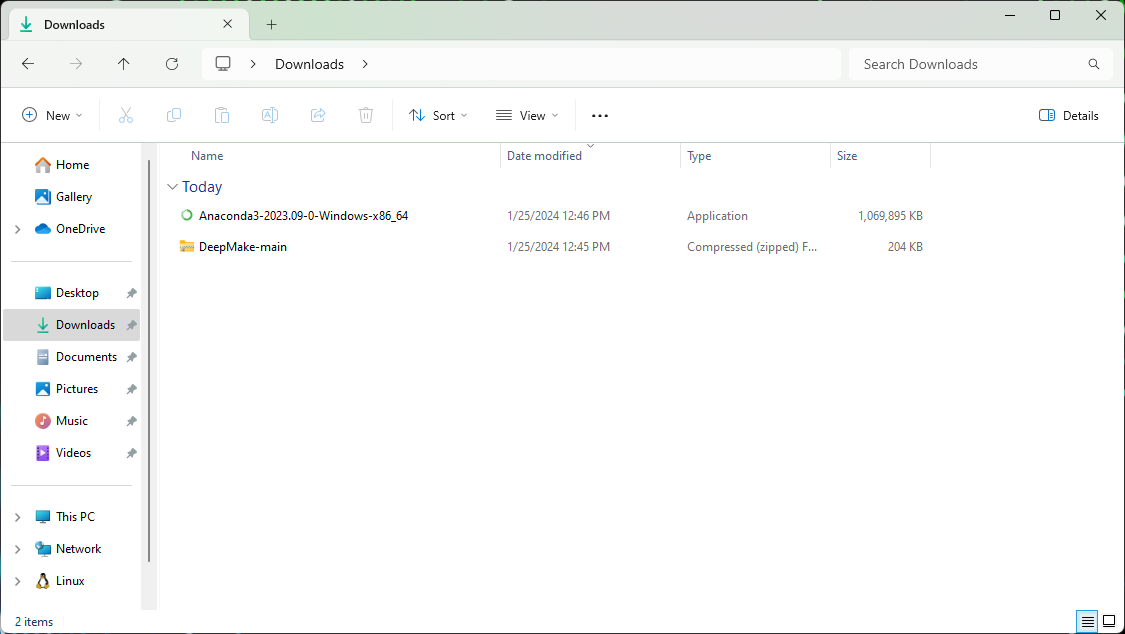
- Inside of the file, drag the "Deepmake-main" folder to the Downloads folder.
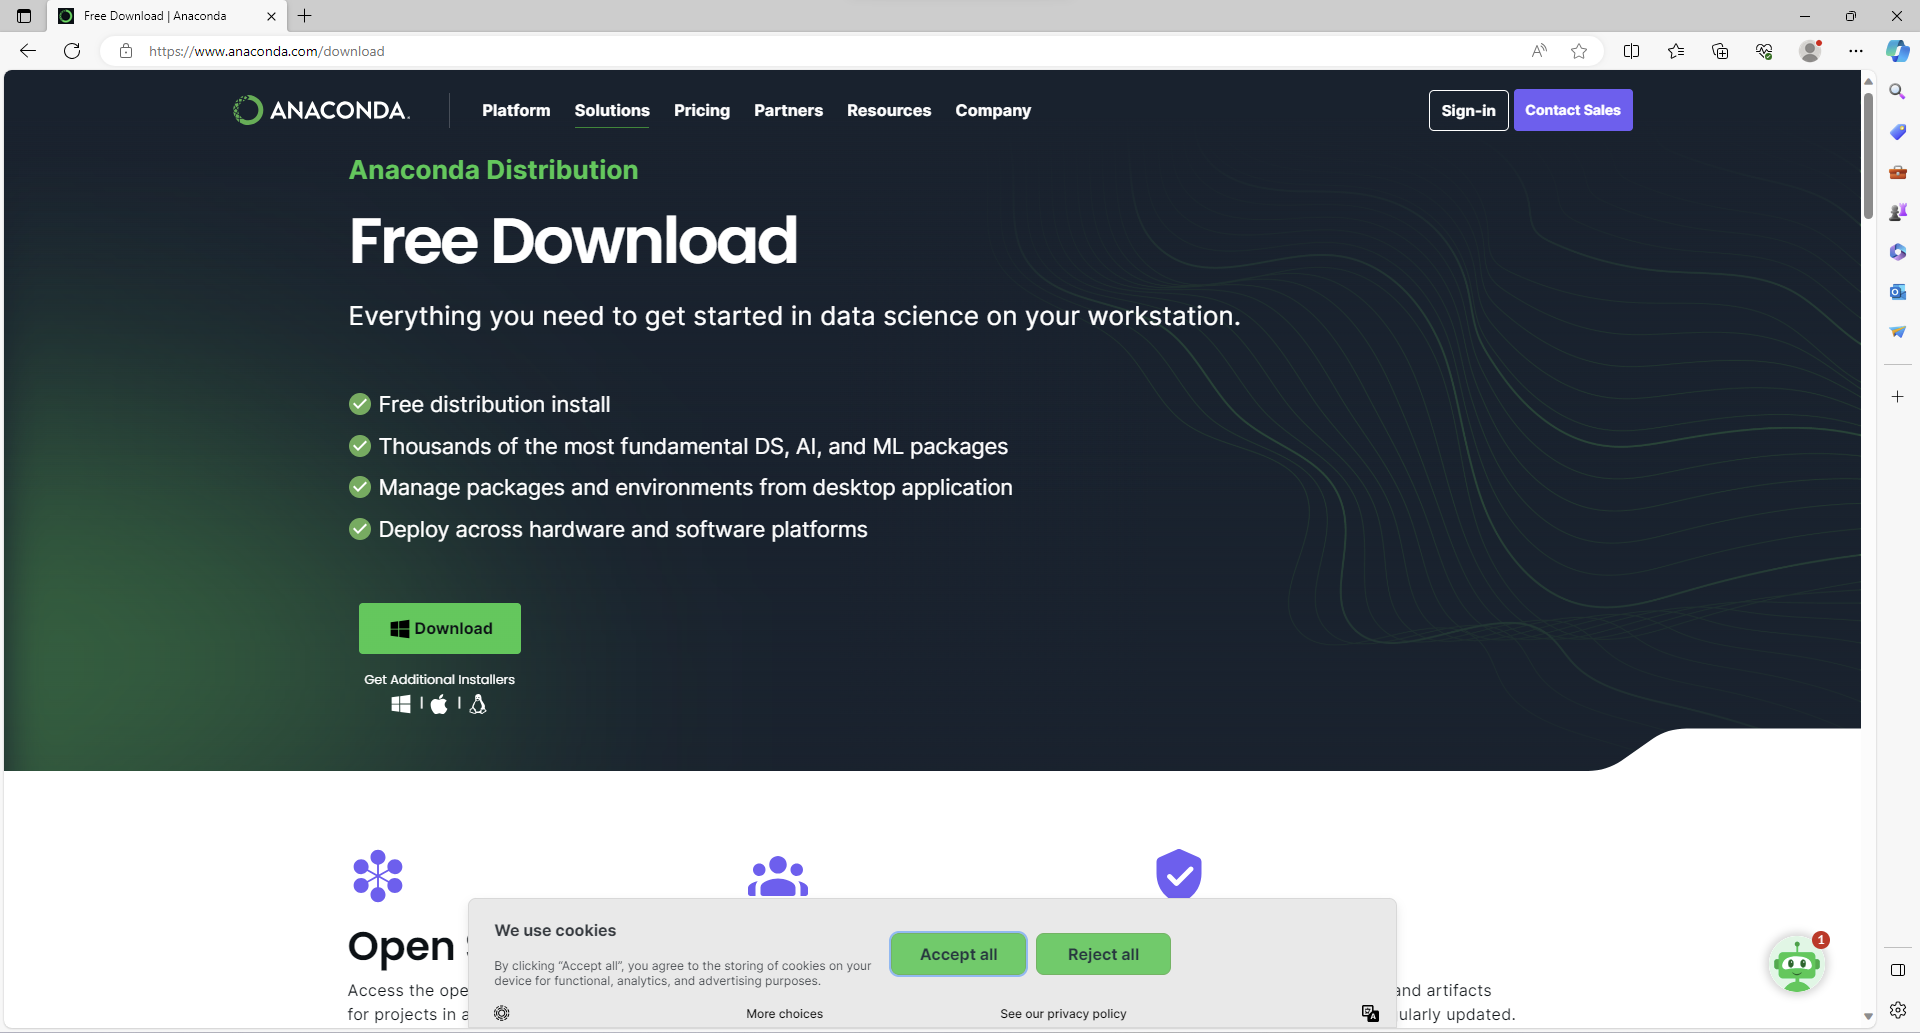
Download Anaconda
- Next, you should download Anaconda from
. Once there, click the "Download" button to get the file.
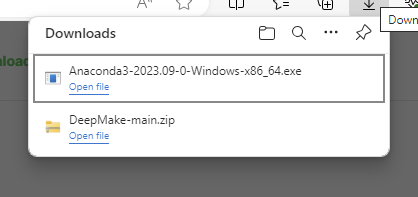
- Click on the downloaded file. It should start with "Anaconda3" and have a recent date listed. This will run the installer.
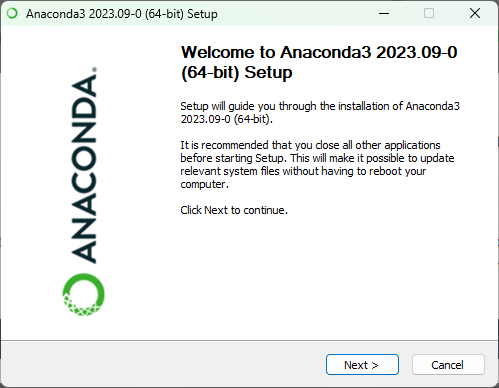
- Click "Next" to start the installer.
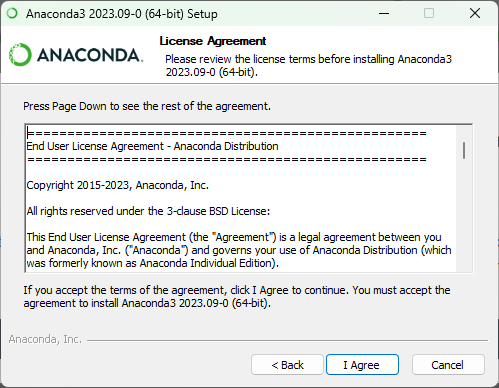
- Read and agree to the terms.
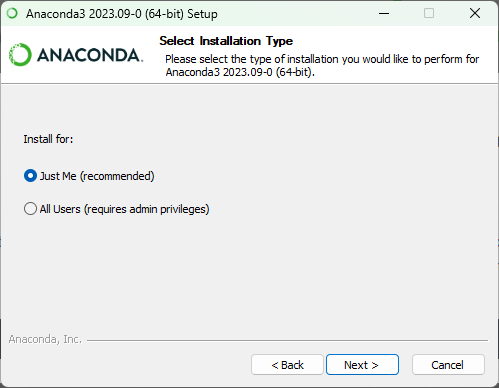
- Install for "Just me" and click "Next".
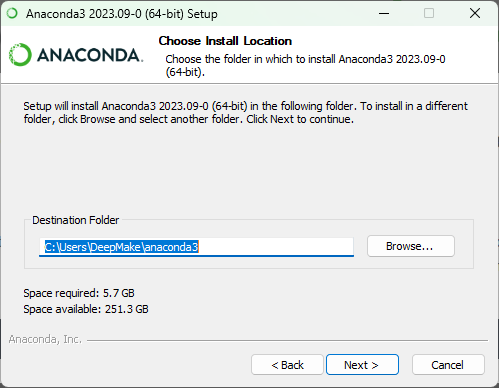
- Keep the default folder and click "Next".
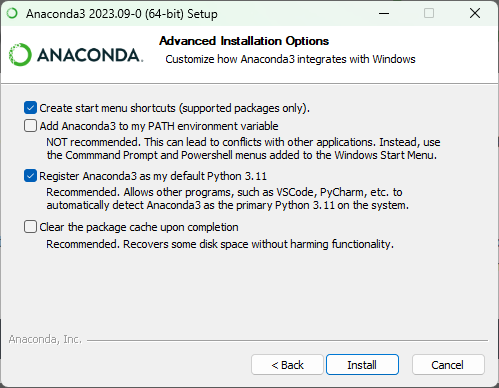
- The default settings are fine, leave them and click "next".
- Wait for it to finish installing (this may take a while) then click "Next".
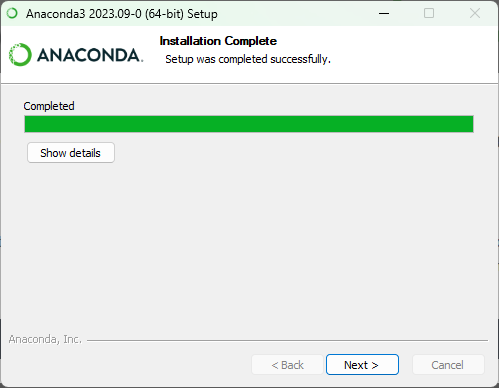
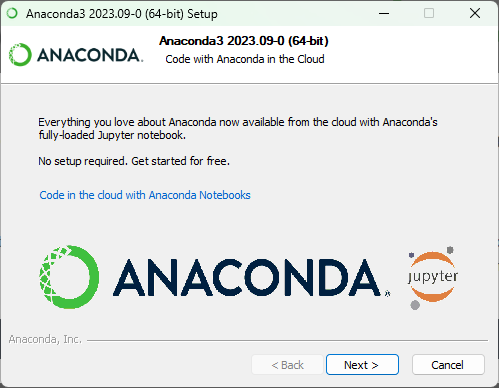
- Click "Next".
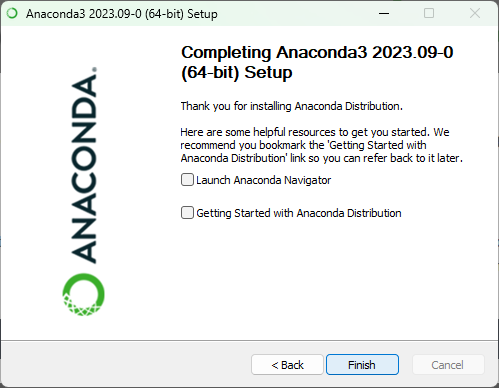
- Anaconda is now successfully installed. You can uncheck both boxes and continue.
Preparing environment
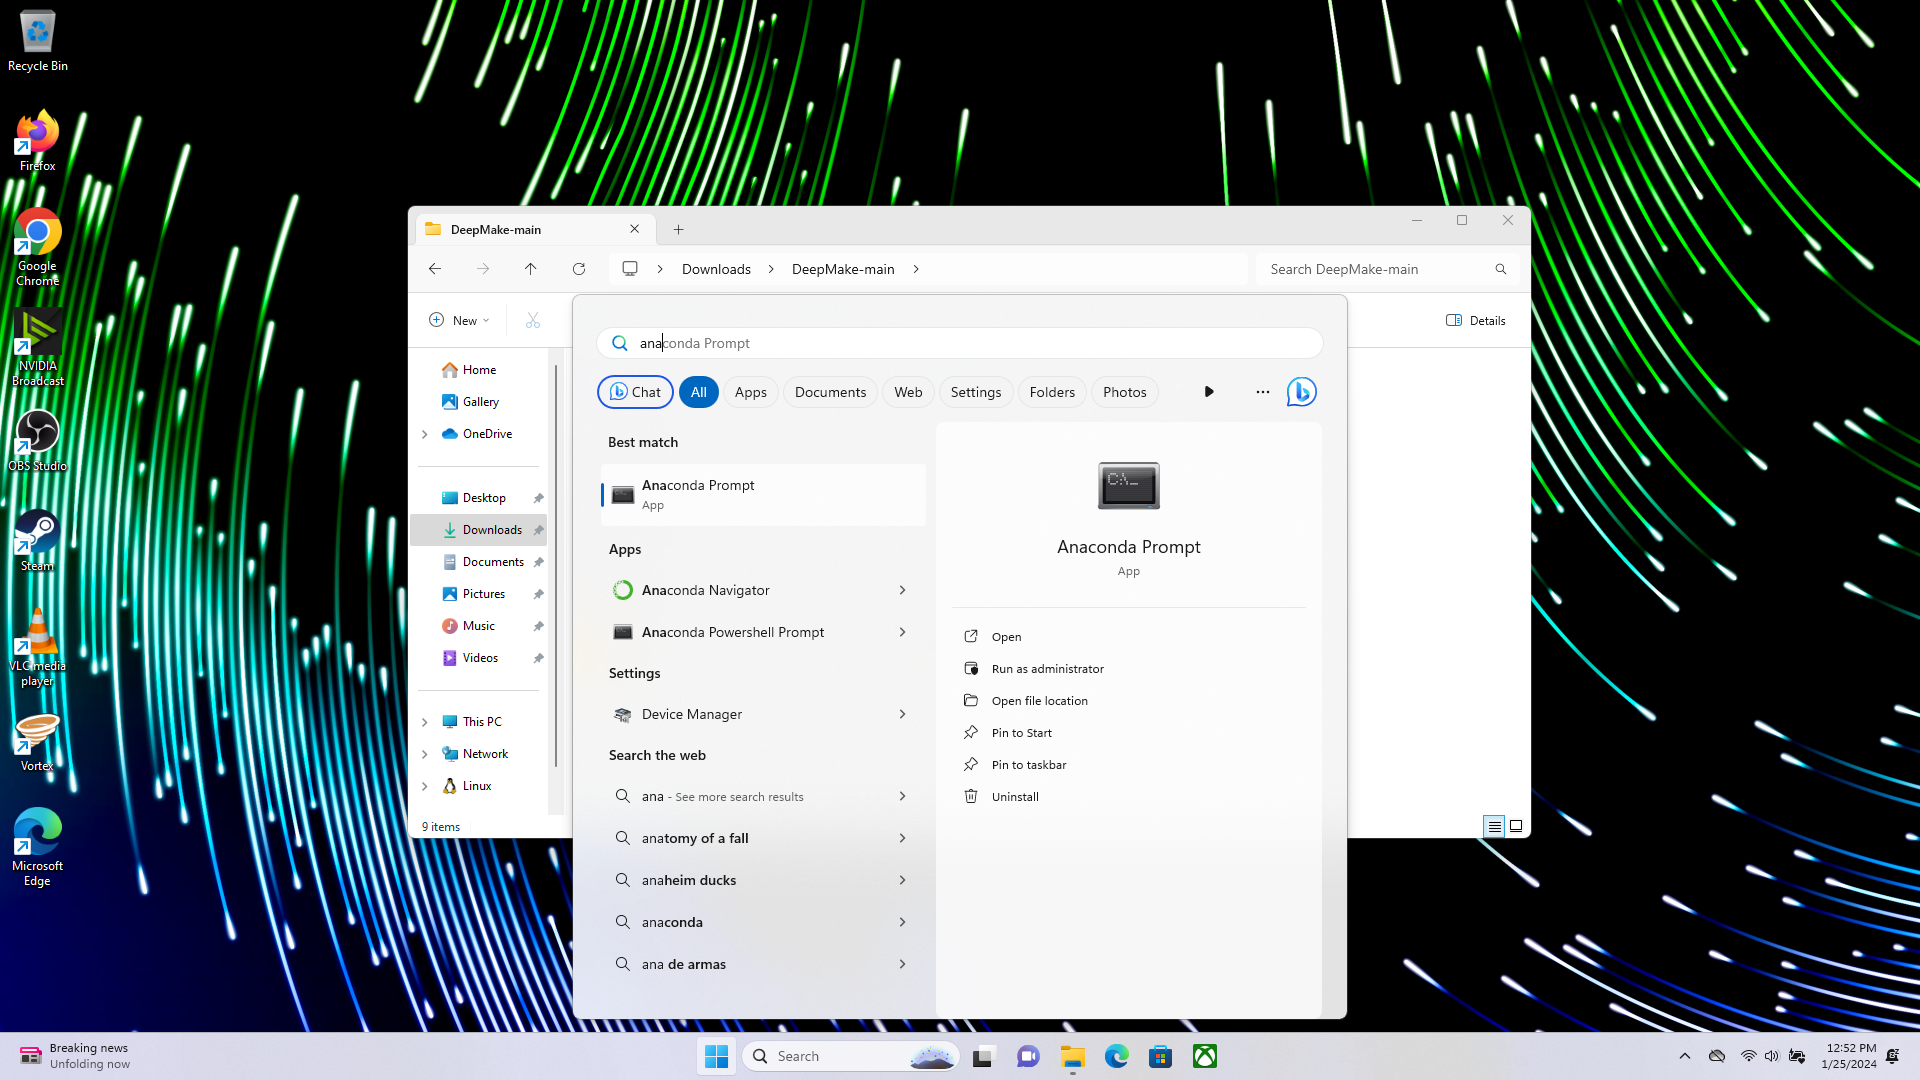
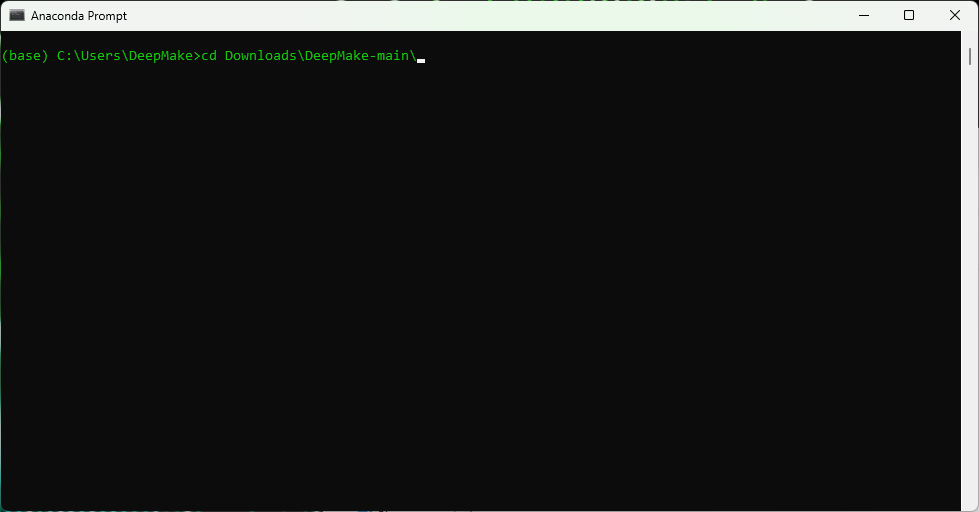
- Press the start button, then type Anaconda and click on the Anaconda Prompt.
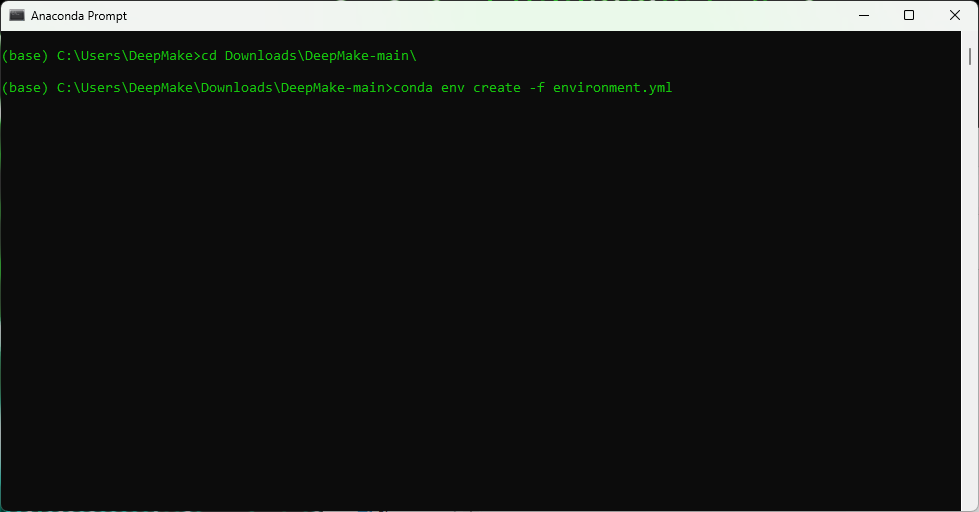
- In the open console, go to the install folder by typing "cd Downloads\DeepMake-main" and pressing "Enter"
- Next type "conda env create -f environment.yml" and pressing "Enter"
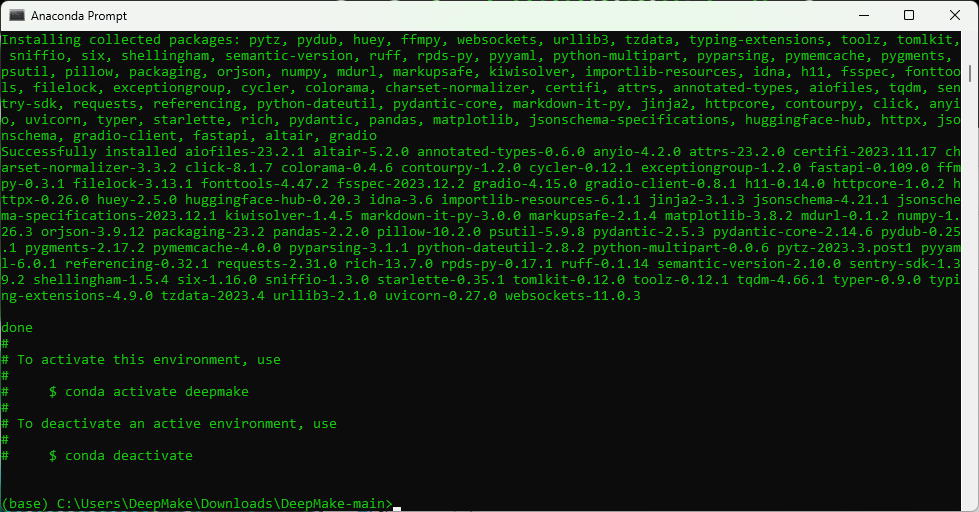
- If you see the following screen then you successfully created the Conda environment.
Install any processing plugins you want
- Download any plugins you want.
- Extract the plugin folder from the zip file into the "plugin" folder in the DeepMake folder.
Install processing plugins
- go to the DeepMake folder
- cd to plugin
- git clone any processing plugins that you want to download (I.E.
git clone https://github.com/DeepMakeStudio/Diffusers)- Win: Run
conda env create -f plugin/{folder}/environment.ymlfor each package in the plugin folder. (I.E.conda env create -f plugin/Diffusers/environment.yml) - Mac: Run
conda env create -f plugin/{folder}/environment_mac.ymlfor each package in the plugin folder. (I.E.conda env create -f plugin/Diffusers/environment_mac.yml)
- Win: Run
To see a list of all available plugins see here ➚